What you need to prepare
First, install these things
nodeJs , npm
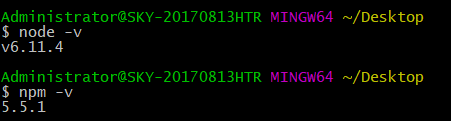
mongodb , adminMongo (optional)
For the front-end page, I decided to use vue-element-admin. After git clone, you can see the complete development framework.
Front-end login ideas
The verification idea is that after a successful login, the server returns a token (which uniquely identifies the user), and then stores the token in a local cookie. The next time the page is opened or refreshed, the user’s login status can be remembered.
After the user logs in successfully, the global hook router.beforeEach will be used to determine whether a token has been obtained. After obtaining the token, the user’s information will be obtained.
Let’s look at the main code of the specific login page
//index.vue
handleLogin() {
      this.$refs.loginForm.validate(valid => {
        if (valid) {
          this.loading = true
          this.$store.dispatch('LoginByUsername', this.loginForm).then(() => {
            this.loading = false
            this.$router.push({ path: this.redirect || '/' })
          }).catch(() => {
            this.loading = false
          })
        } else {
          console.log('error submit!!')
          return false
        }
      })
    },
After clicking Login, the form is validated and the Vuex LoginByUsername action is triggered. Search the code to see what this asynchronous operation does.
//user.js import { loginByUsername, logout, getUserInfo } from ‘@/api/login’ import { getToken, setToken, removeToken } from ‘@/utils/auth’ actions: { LoginByUsername({ commit }, userInfo) { const username = userInfo.username.trim() return new Promise((resolve, reject) => { loginByUsername(username, userInfo.password).then(response => { const data = response.data commit(‘SET_TOKEN’, data.token) setToken(response.data.token) resolve() }).catch(error => { reject(error) }) }) }, … You can see this LoginByUsername calls the loginByUsername method of login.js, which accepts two parameters: username and password. It can be inferred that loginByUsername sends a request, submits the SET_TOKEN method after the request is completed, and calls setToken in auth.js.
// login.js
import request from '@/utils/request'
export function loginByUsername(username, password) {
  const data = {
    username,
    password
  }
  return request({
    url: '/login/login',
    method: 'post',
    data
  })
}
You can see that a request is sent here, where request should be the method that encapsulates axios. We will see how to encapsulate it later.
//user.js
 mutations: {
    SET_TOKEN: (state, token) => {
      state.token = token
    },
You can see that SET_TOKEN updates the token value returned by the request to the state of vuex.
//auth.js import Cookies from ‘js-cookie’ const TokenKey = ‘Admin-Token’ export function setToken(token) { return Cookies.set(TokenKey, token) } The setToken method stores the token in a cookie.
Backstage ideas
According to the logic of the front-end, we need a login interface. When logging in, we query from the database and return the token to the front-end if it is correct. We also need an interface to receive the token and return the specific information of the user to the front-end.
express
Let’s start with express
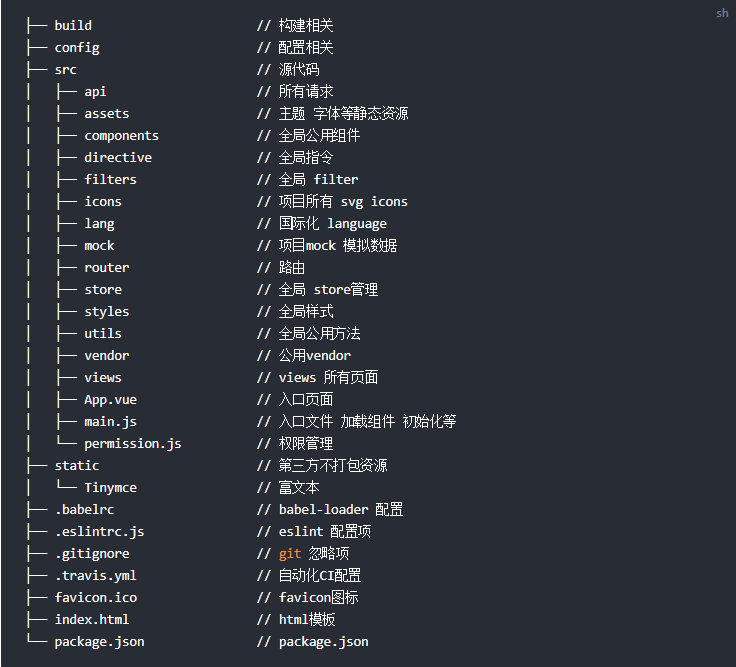
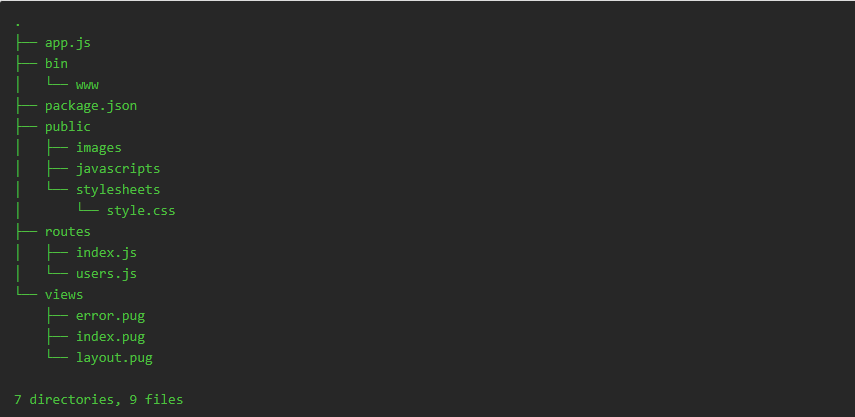
Use the express-generator application generator to quickly create an application skeleton. After generating, you should see the following directory structure.
npm install //Install dependent modules npm start //Start the project
Because it is troublesome to restart npm start after each modification, I use nodemon for hot updates.
npm install -g nodemon //Install nodemon

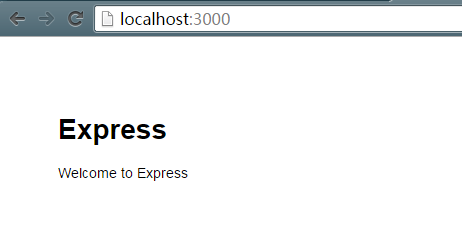
You can start the express application
Let’s look at the structure of the express project
bin is the startup directory of the application,
var http = require('http');
var port = normalizePort(process.env.PORT || '3000');
app.set('port', port);
var server = http.createServer(app);
server.listen(port);
server.on('error', onError);
server.on('listening', onListening);
public is the static file directory of the project
routes controls routing, we need to make a login interface here
views is the view file, we put the html file here
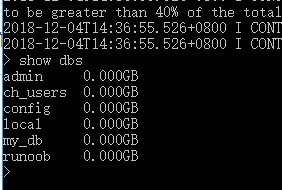
mongodb
Registration and login require a database. I used MongoDB and mongoose to operate the database. The documentation already explains how to do this, so I won’t go into detail here.
Create a database folder in the express directory, create the model.js file, and the bdHandler.js handler file.
// models.js module.exports = { user:{ username:{type:String,required:true}, password:{type:String,required:true}, roles:{type:String,required:true} } };
// bdHandler.js // Provide other files for model operations var mongoose = require(‘mongoose’); var Schema = mongoose.Schema; var models = require("./models");
for(var m in models){ mongoose.model(m,new Schema(models[m])); }
module.exports = { getModel: function(type){ return _getModel(type); } };
var _getModel = function(type){ return mongoose.model(type); };
Next, we need to connect to the database and set the bdHandler as a global for easy use in routes.
//Add in app.js global.dbHandel = require(’./database/dbHandler’); global.db = mongoose.connect(“mongodb://localhost:27017/ch_users”, { useNewUrlParser: true })
Backend Interface
Once this is done, we can move on to the login interface.
var express = require(’express’); var router = express.Router(); var dbhandler = require(’../database/dbHandler’); var jwt = require(‘jwt-simple’); router.post("/login", function (req, res) { // Detect the post method from this path and process the post data. // Here, User is obtained from the model. var User = dbhandler.getModel(‘user’); var {username} = req.body; // Get the username from the posted data.
User.findOne({ username }, function (err, doc) { // Use this model to query the database for matching information based on the username. if (err) { // If an error occurs, return an error with a status code of 500. res.send(500); console.log(err); } else if (!doc) { // No matching information for the username is found, so the username does not exist. res.send({code:400,message:‘Username does not exist’}); // Status code returns 404 } else { if (req.body.password != doc.password) { // Information matching the username was found, but the corresponding password attribute does not match res.send({code:400,message:‘Wrong password’}); } else { // Information matching successfully returns 20000 and token let token = jwt.encode(doc, secret); res.send({code:20000,token}); } } }) }) module.exports = router;
The user authentication method is based on JWT authentication. The secret is the password stored on the server. For convenience, I have used it as a global variable.
//app.js
global.secret = 'yosgi'
Don’t forget that the router also needs to be registered in app.js
//app.js var users = require(’./routes/users’); app.use(’/login’, users); Our login interface is now complete. Let’s try it on the front-end page.
Front-end Login Page
Our Express application listens on localhost:3000, so we need to send a POST request to localhost:3000/login/login.
First, you need to remove the simulated request in the mock before you can actually send the request.
// mock_index.js // Mock.mock(//login/login/, ‘post’, loginAPI.loginByUsername) Comment this section out.
Try logging in.
http://serve-dev/login/login
Sending a request, I suspect this is due to the baseURL setting in Axios. See the following code in utils/request.js:
//request.js
import axios from 'axios'
const service = axios.create({
  baseURL: process.env.BASE_API, // base_url of api
  timeout: 5000 // request timeout
})
Remove this from dev.env.js in the config file.
//dev.env.js module.exports = { NODE_ENV: ‘“development”’, ENV_CONFIG: ‘“dev”’, BASE_API: ’’ }
The address to send the request is now
http://localhost:9527/login/login
Why not just change BASE_API to http://localhost:3000? That would involve cross-domain requests, which can be handled with CORS in the backend. However, I decided to use the proxyTable plugin for greater convenience.
/ index.js dev: { // Paths assetsSubDirectory: ‘static’, assetsPublicPath: ‘/’, proxyTable: { ‘/login/login’: { target: ‘http://localhost:3000’, // Local server started on port 3000 changeOrigin: true } }
This will send requests to /login/login to http://localhost:3000/login/login.
Try it out!
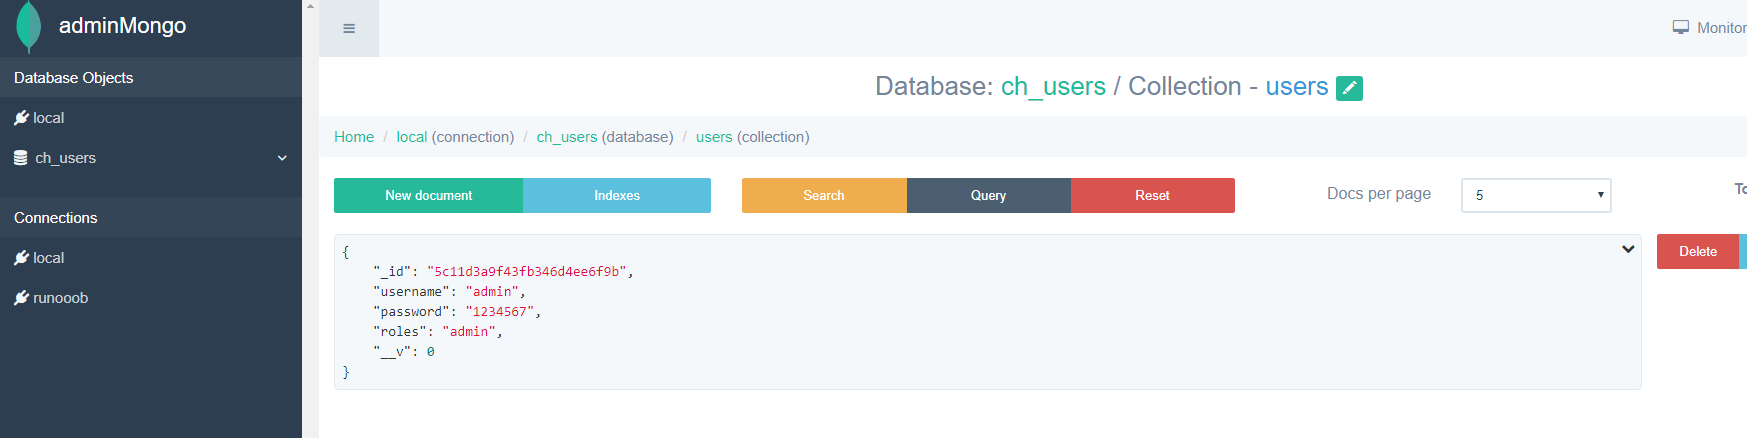
We’ve already created an admin user in the database. image
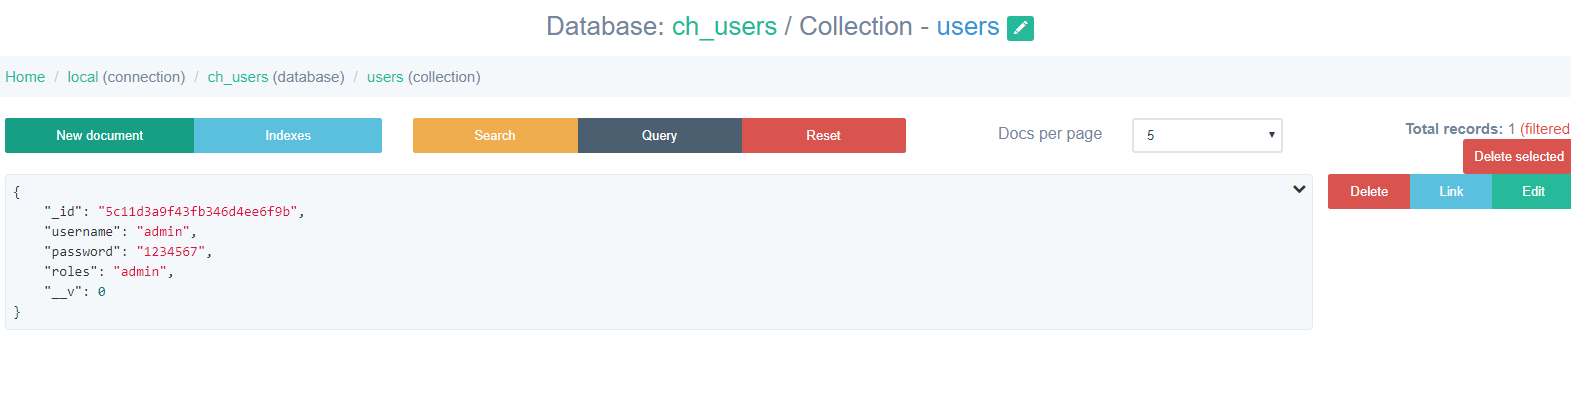
Request results
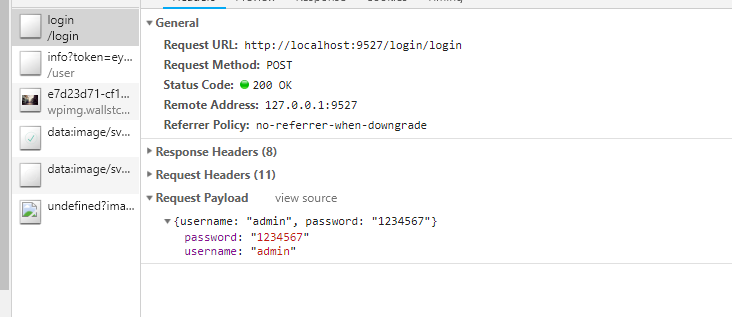
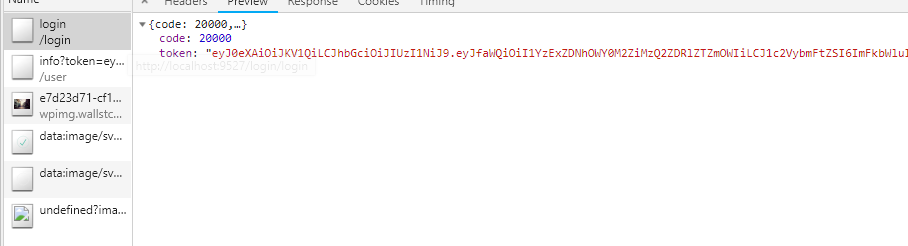
After this step is successful, the token is stored in vuex and cookie. The next thing to do is
- Use tokens for authentication and retrieve user information
- Create a user registration interface
- Create a logout interface